



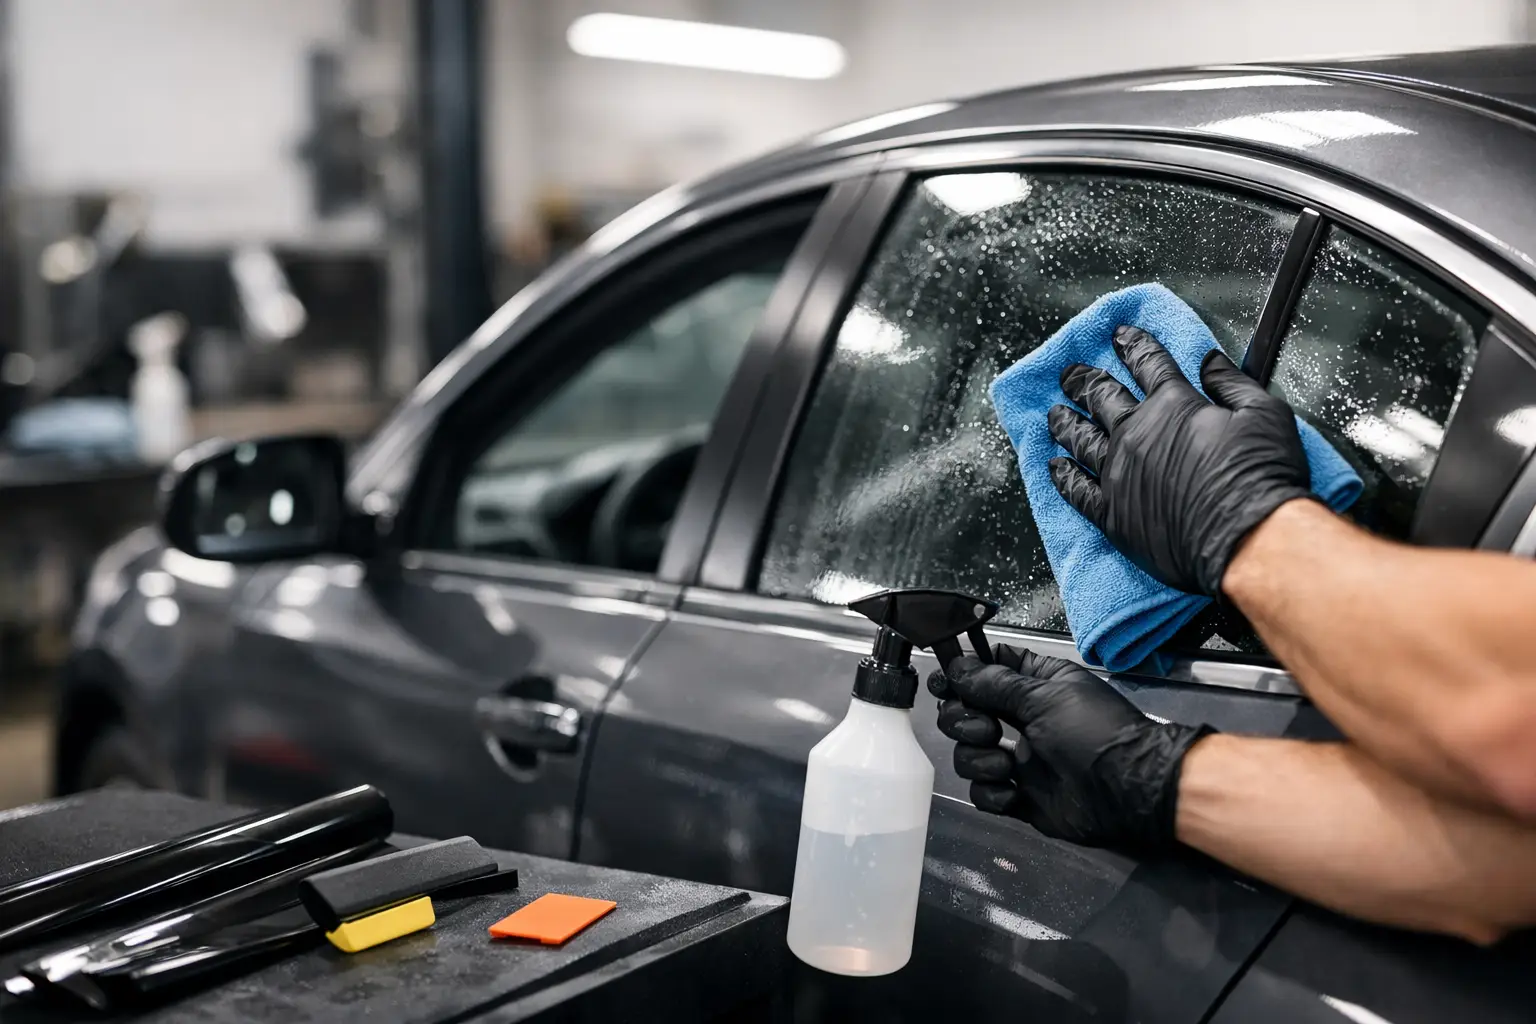
A quick search for “how to prepare car for tinting” often leads to a long cleaning checklist. The real goal is simpler: arrive with a vehicle that gives the installer clean access to the glass, a safe place to work, and no avoidable surprises. Proper preparation helps protect the finish, prevents delays, and supports a cleaner result from premium window film.
In San Diego, window tinting is more than a cosmetic upgrade. The right film can reduce solar heat, cut glare, block harmful UV exposure, protect interior materials, and make daily driving more comfortable. A little preparation before your appointment helps you get those benefits without turning installation day into a hassle.
How to Prepare a Car for Tinting Before Your Appointment
Start by confirming the appointment details. If you are using a mobile installer, make sure there is a level, reasonably clean place to park with enough room for the technician to open doors and move around the vehicle. A garage, covered carport, or shaded driveway is ideal. Wind, blowing dust, rain, and direct afternoon sun can all make film installation more difficult.
If a covered area is not available, discuss the location in advance. A qualified installer can tell you whether the conditions are workable or whether moving the appointment will produce a better result. This matters especially near the coast, construction zones, landscaped areas, or unpaved driveways where dust and debris are more likely to be in the air.
You do not need to detail the vehicle yourself, but it should be reasonably clean. Wash the exterior glass and remove heavy dirt, salt spray, mud, or sticky residue around the windows. Avoid applying wax, silicone sprays, or oily glass cleaners immediately before the appointment. Professional installers clean and prep the glass as part of the process, but starting with a clean vehicle reduces contamination around window seals, trim, and door frames.
Clear the Work Areas Inside the Vehicle
Remove personal items from the dashboard, front seats, rear seats, cargo area, and door pockets. This gives the installer room to work and helps keep your belongings dry. Window film installation uses a controlled amount of water-based mounting solution, so it is wise to remove paperwork, electronics, loose clothing, and anything that could be damaged by moisture.
Pay special attention to the rear deck below the back glass. Take out hats, tools, speakers that are not securely mounted, decorative items, and anything stored near the rear window. On sedans, the rear glass can require the most setup time. A clear rear deck makes the job faster and helps protect your belongings.
If your vehicle has child seats, large pet barriers, removable sunshades, or aftermarket accessories that block access to the windows, take them out before the appointment when possible. If an item cannot be removed easily, mention it when scheduling so the installer can plan accordingly.
Check for Existing Film, Damage, and Electronics
Let the tinting contractor know if your car already has window film. Old film removal can take significant time, particularly on rear glass with defroster lines. Removing aged or bubbling film may carry a risk of damaging weak defroster grids, especially when the existing adhesive is heavily baked on by Southern California sun. It is better to discuss this upfront than discover it after work begins.
Also point out cracked glass, loose weatherstripping, damaged window seals, broken window regulators, or doors that do not open properly. Tint film is installed on the interior surface of the glass, but the installer still needs stable windows, accessible edges, and functioning doors. A window that will not stay in position or a seal that sheds debris can affect the final result.
Modern vehicles may have sensors, cameras, speakers, airbags, and electronics near the window area. Professional installers work carefully around these components, but accurate information helps. Mention aftermarket alarms, custom audio equipment, unusual door panels, or any concern you have about a particular window.
Do Not Roll Down the Windows After Tinting
Your preparation should include a plan for the first few days after installation. Fresh window film needs time to cure. During that period, do not roll down tinted side windows until your installer says it is safe. In warm, dry weather, film may set faster, but curing time depends on the film type, glass, humidity, and temperature.
If more than one person drives the vehicle, tell everyone about the new tint before the appointment. A small note on the window controls can prevent an accidental roll-down. This is one of the most common causes of edge lifting after an otherwise successful installation.
You may see light haze, tiny water pockets, or a slightly cloudy appearance while the film cures. That is usually normal. The mounting solution needs time to evaporate through the film, and larger rear windows can take longer than side windows. Do not press on bubbles, scrape the glass, or use adhesive tape near film edges. If something looks unusual after the stated curing period, contact the installer for guidance.
Choose the Right Tint Before Installation Day
The best preparation is not only about cleaning the car. It is also about deciding what you want the film to accomplish. A dark shade may add privacy and improve appearance, but visible light transmission is only one part of performance. High-quality ceramic and premium solar-control films can reject significant heat and reduce glare without making the cabin excessively dark.
Think about how and where you drive. A commuter who spends hours in stop-and-go traffic may prioritize heat reduction and glare control. A family vehicle may benefit from UV protection that helps preserve leather, plastics, and upholstery. A driver who frequently travels at night may prefer a lighter film that provides comfort without reducing nighttime visibility more than necessary.
California window tint rules should also be part of the conversation. Legal requirements can vary by window location and medical exemptions may apply in limited circumstances. A professional installer can help you understand the practical options, but the vehicle owner is ultimately responsible for complying with applicable regulations. Choosing film based only on the darkest available look can lead to disappointment or unnecessary risk.
Avoid Last-Minute Changes
If you are considering a specific shade, film technology, or windshield strip, make those decisions before the technician arrives. Ask to see samples if available and view them from inside and outside the vehicle. Film can look different depending on the vehicle’s factory glass color, interior color, weather, and surrounding light.
It also helps to be clear about your expectations. For example, no window film makes a vehicle invisible from every angle, and a very light film will not deliver the same privacy as a darker shade. The best choice balances heat control, visibility, appearance, privacy, and legal compliance for the way you actually use the car.
Plan for Installation Time and Aftercare
Set aside enough time for the appointment. The exact installation time depends on the vehicle, number of windows, film selected, old tint removal, and the condition of the glass. A simple two-door coupe is different from a large SUV with complex rear glass and multiple small windows. Rushing the installer is never worth it when the goal is a clean, durable finish.
Arrange transportation if you cannot wait, or make sure you can leave the car parked afterward. Once the film is installed, the vehicle should remain accessible for a final walkthrough. Inspect the work with the installer, confirm the curing instructions, and ask how to clean the film once it has fully dried.
After the cure period, use a soft microfiber towel and ammonia-free cleaner. Avoid abrasive pads, razor blades, and harsh chemicals on tinted glass. Careful cleaning protects the scratch-resistant coating and keeps the film looking clear for years.
For San Diego drivers, a professional tint installation is a practical way to drive cooler, reduce glare, and protect the interior from constant sun exposure. Clear the vehicle, provide a clean work space, communicate any issues before the appointment, and give the new film time to cure. Those simple steps let an experienced installer focus on what matters most: a precise finish that performs well every time you get behind the wheel.